This summer during a layover and delay at O'Hare airport, I grabbed a bag of
Garrett's popcorn. It was love at first crunch and kept me happy during my wait for my flight.
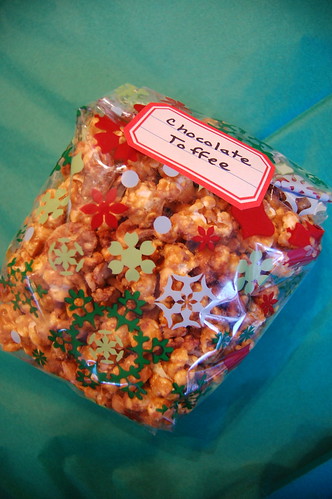
This December, I wanted to make a few food gifts to give away and decided to see if I could replicate that buttery crunch. I tried (and sampled) several recipes found in magazines and online (most are similar), and this recipe is my mix of all of them.
There are a few hints I discovered as I experimented that I didn't find in any recipe:
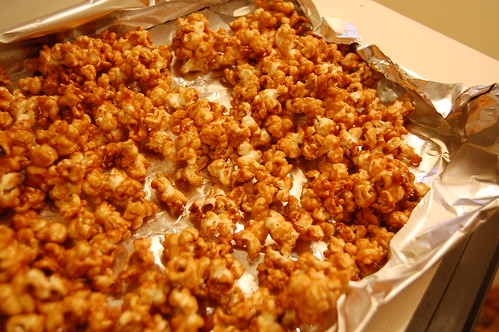
- Use pans with tall sides to bake the caramel corn instead of a cookie sheet. A heavy broiler pan is the perfect size and the thick bottom prevents the glaze from burning.
- Line the pans with parchment paper! It keeps the glaze from sticking to the bottom of the pan where it will burn and turn to a sticky mess.
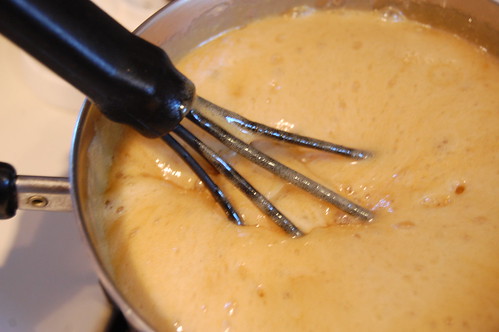
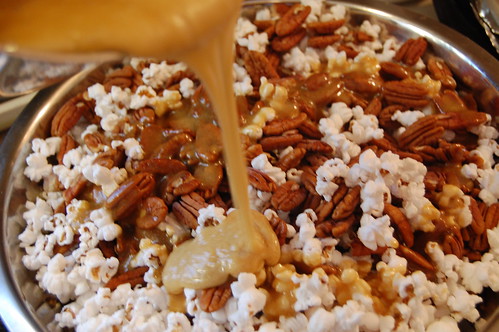
- Pour the caramel glaze over the popcorn in the pan, rather than in a bowl. Less messy! Ignore the picture above where I am pouring into the bowl!
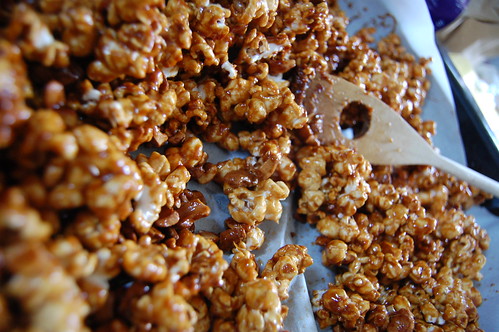
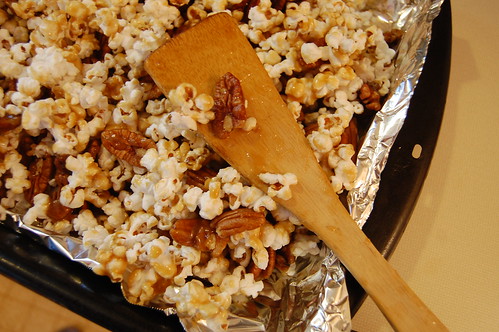
- Use a spatula to turn the caramel corn. It is less messy than a spoon, and allows you to scrape the caramel off the parchment paper so it doesn't burn.
- I tried yellow, white, and microwave popcorn, and really didn't have a strong preference. If you use microwave popcorn, I'd suggest the unbuttered kind. I don't have a hot air popper, but I think that would work wonderfully for this recipe. I cooked my popcorn in peanut oil, although one recipe I read highly recommended coconut oil.
This orange flavored version has a light flavored caramel. I will also share another recipe that has a deeper flavor. The recipe should turn out fine if you choose to leave out the orange.
Orange Pecan Caramel Corn12 - 13 cups popped corn
1 teaspoon salt
1 cup butter
1 cup light brown sugar
1/2 cup light corn syrup
1/4 cup orange juice
2 teaspoons vanilla
1/2 teaspoon orange extract
1/2 teaspoon baking soda
1 cup whole pecans
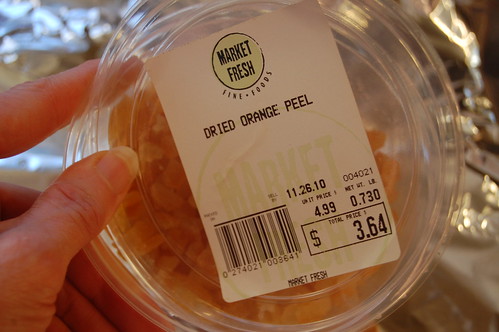
1/2 cup candied orange peel
1. Preheat your oven to 250 degrees. Make your popcorn and lightly salt it. Line 2 heavy pans with tall sides with parchment paper. Spread the popcorn into the two pans. Be sure to remove any unpopped kernels. Sprinkle with the pecans.
2. In a large heavy saucepan, combine the butter, brown sugar, and corn syrup. Melt the butter over medium heat, stirring occasionally. Bring to a full boil, then boil for 2 minutes (I use the timer on my iPhone!), stirring every so often. Remove from heat.
3. Add the vanilla, orange extract, orange juice, and baking soda. Stir thoroughly- the baking soda will make the caramel foam up and turn a light color.
4. Pour the caramel over the popcorn. Turn the popcorn gently with a spatula - it works much better than a spoon. Don't worry if the popcorn isn't totally coated. The caramel melts in the oven and as you turn it, it will continue to coat the popcorn.
5. Put the pans in the middle of the oven. Every 10 minutes, turn the popcorn. Use your spatula to scrape the glaze off the bottom of the pan so it doesn't burn, and gently flip the popcorn over, distributing the caramel over all the popcorn. Bake for 30 to 40 minutes. It is very important to turn the popcorn frequently, or the caramel will have a burnt flavor.
4. To check if the caramel corn is done, do a crunch test. Take out a piece and let it cool completely. Then taste. If it is chewy and sticks to your fillings, give it a bit more time. If it is crisp and crunchy, it is done!
5. In the last 5 minutes, add the candied orange peel and toss gently. (I found mine at Market Fresh on Southfield Road). You definitely can leave this out, but it is an unexpected little bit of orange taste that I like.
6. I made a large "pan" out of heavy foil to cool the caramel corn. I turned up the sides of the foil to create edges and sprayed the foil lightly with cooking spray. Turn the caramel corn onto the foil and spread and separate the chunks. Cool. Store in a covered container.

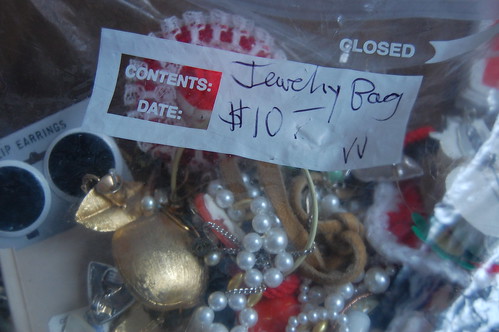
 I made a bunch of these colorful dangle necklaces.
 For Isabella and Elleanna
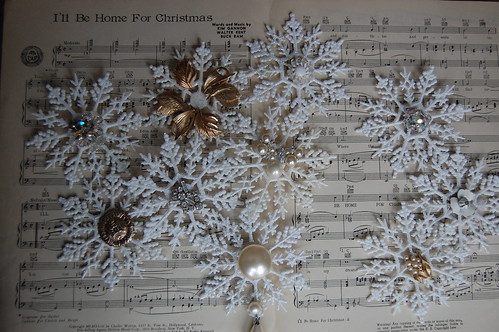
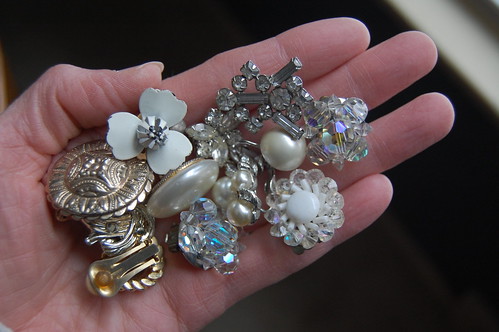
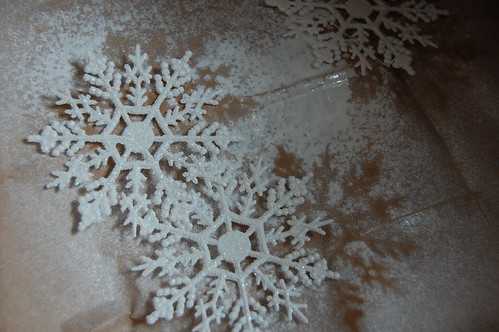
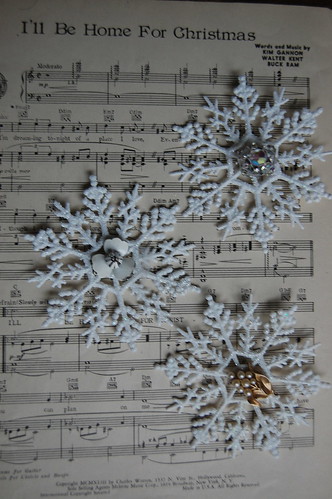
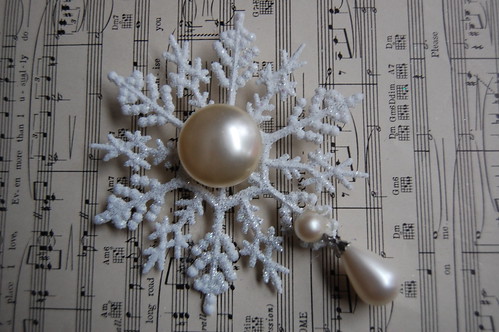
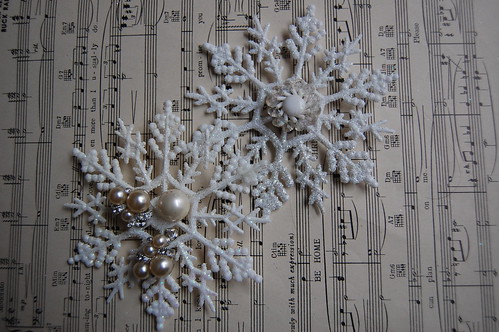
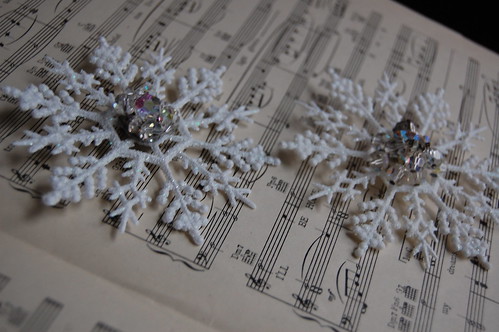
 And a little sparkle to decorate a package.